Creative Flatlay just got a major upgrade. The goal is simple: more control and more possibilities.
Material and Display are now separate
You can now choose a Material (the base texture) independently from a Display (the structure or stand). This makes it easier to iterate on a look without losing your surface choice.
All these options interact with other choices, such as Accent Color & Texture or Atmosphere & Mood, creating nearly endless combinations.
New: Camera Position
You can now set a camera position preference for flatlays:
- None (no preference)
- Overhead
- Front
This gives you a subtle but important way to guide the composition without over-prescribing the scene.
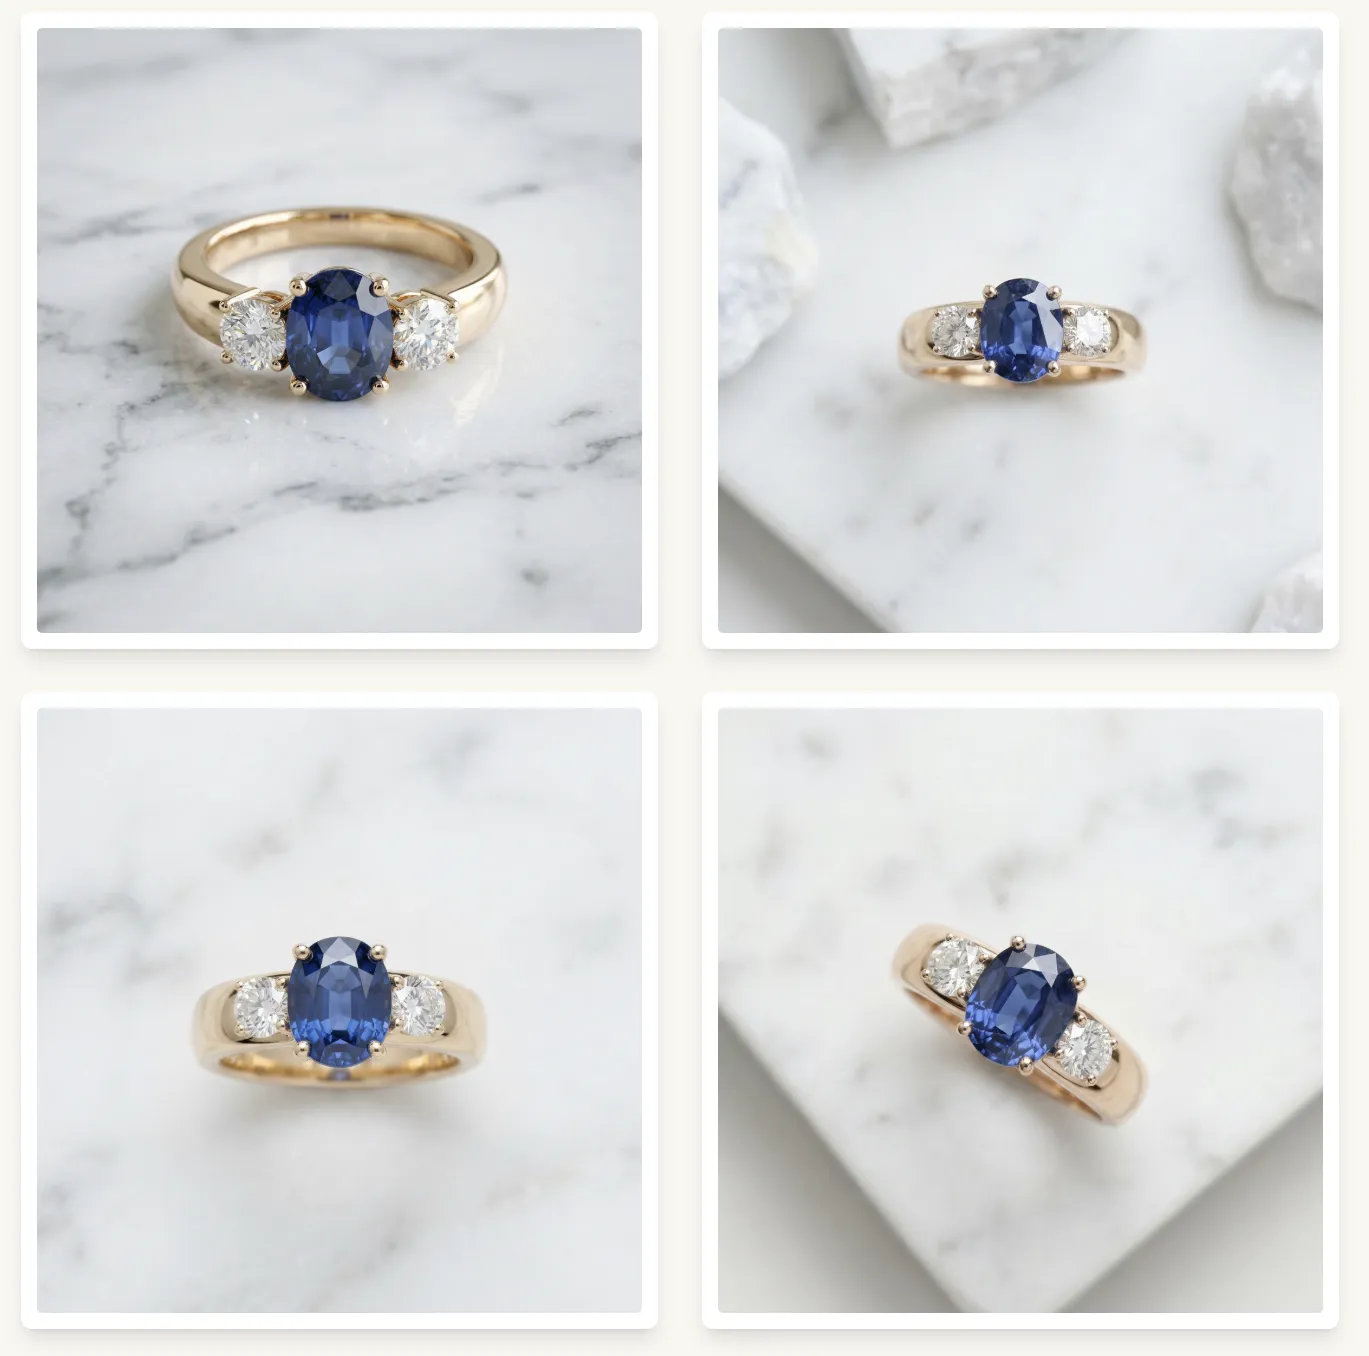
The image below shows the overhead camera setting. Notice 1 out of the 4 images didn’t respect the directive. This is typical with AI, the models can sometimes be…stubborn.
New photography styles to try
You can choose a photography style in the last step before generating an image:
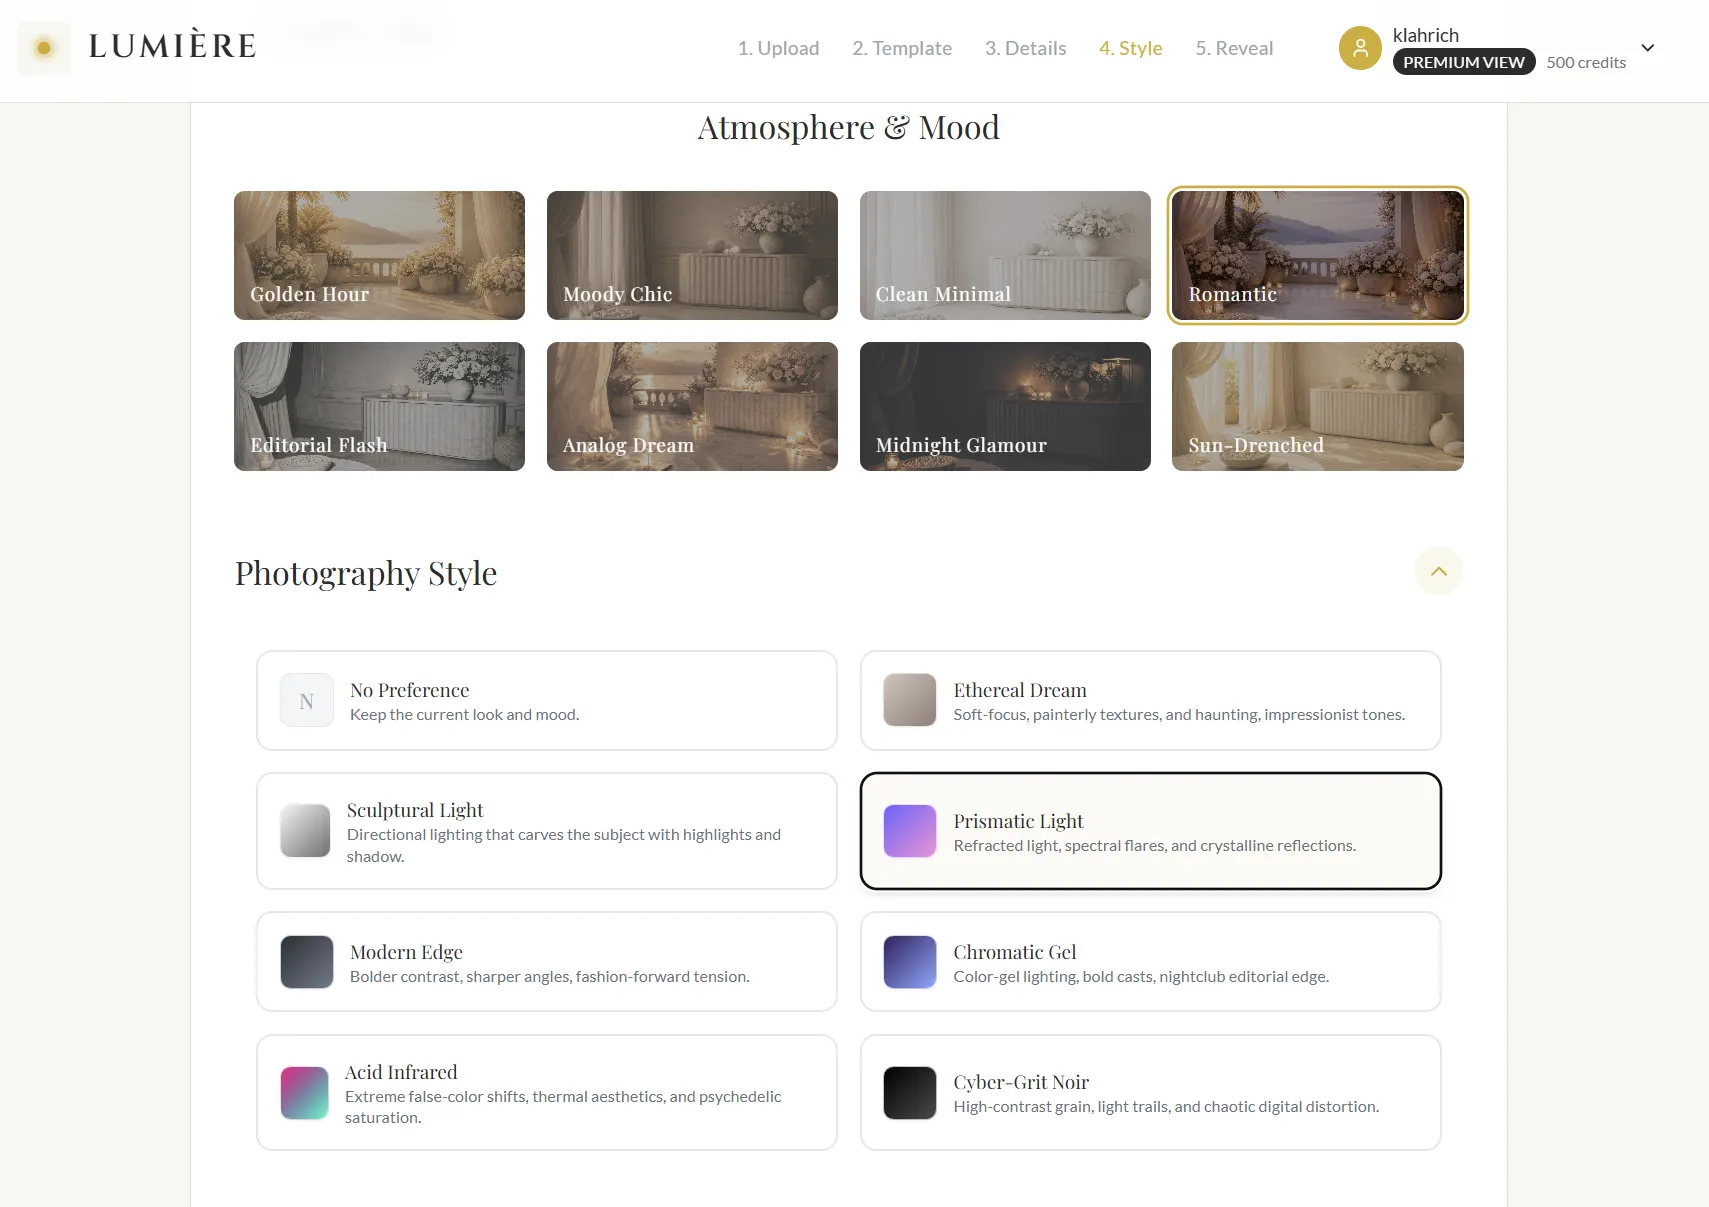
Here are a few fresh styles that pair beautifully with flatlays.
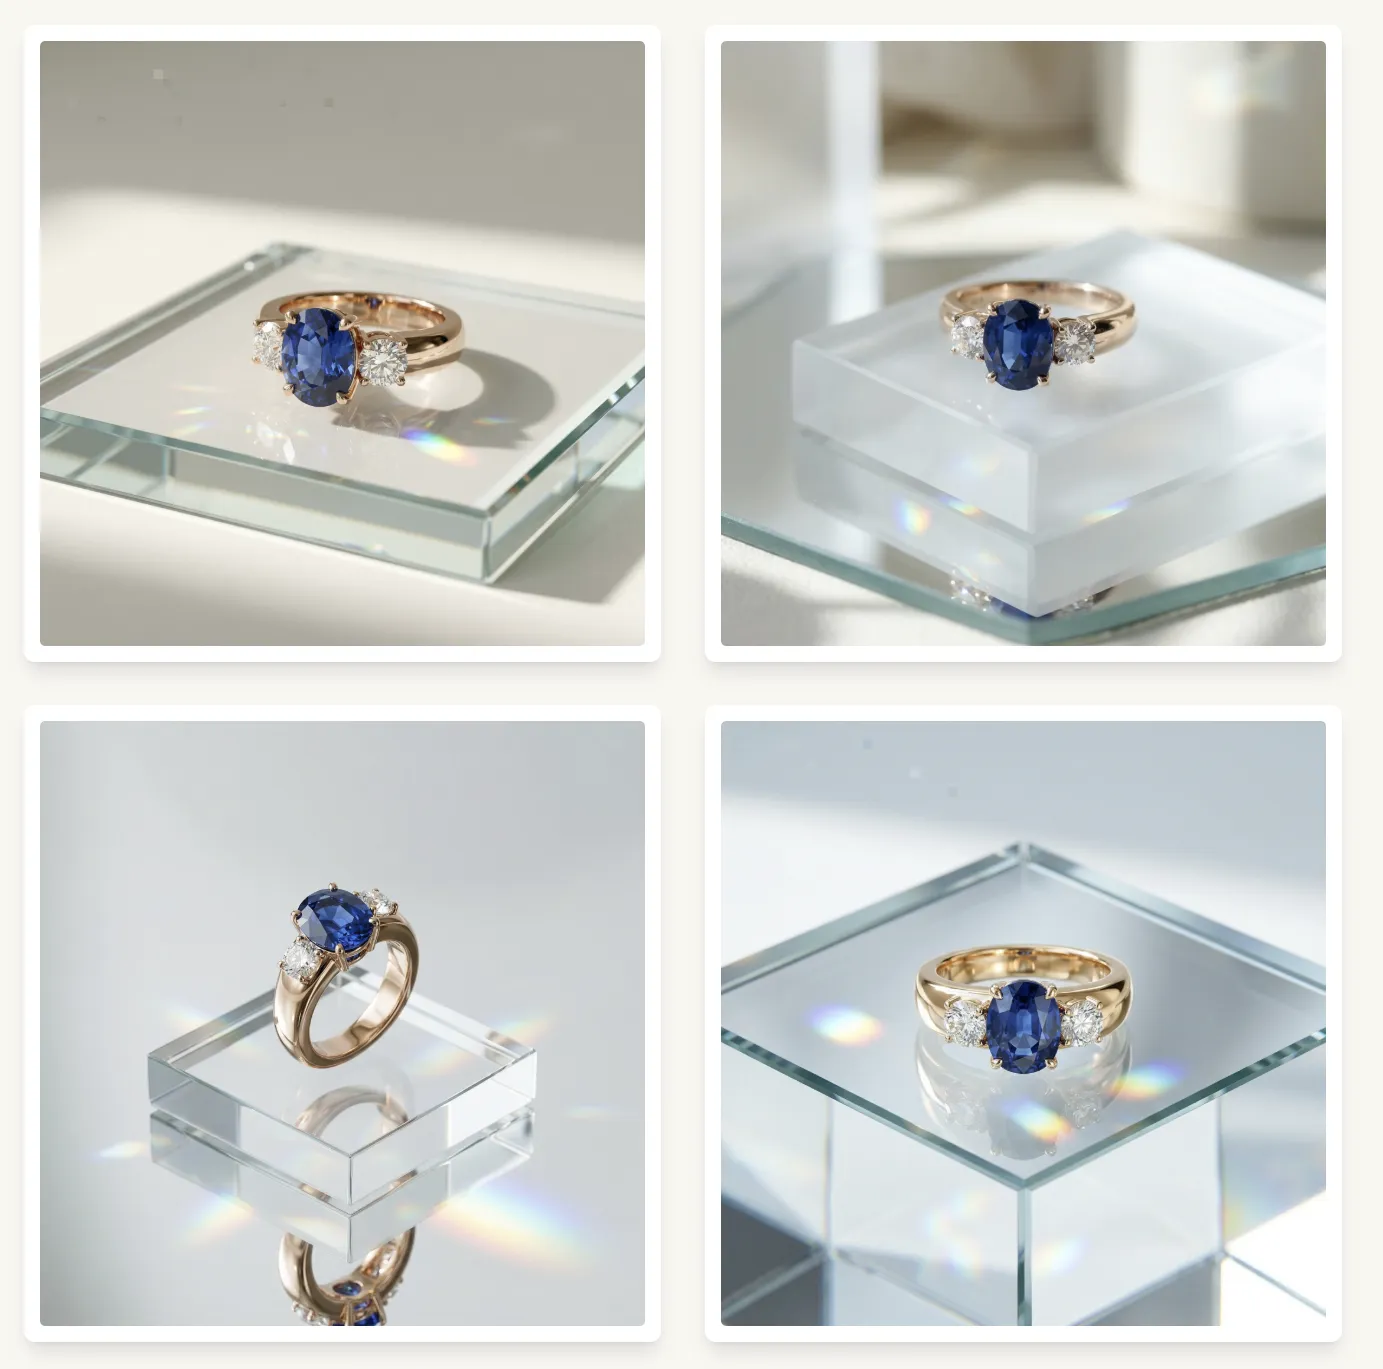
Prismatic Light
Refracted light, spectral flares, and crystalline reflections.
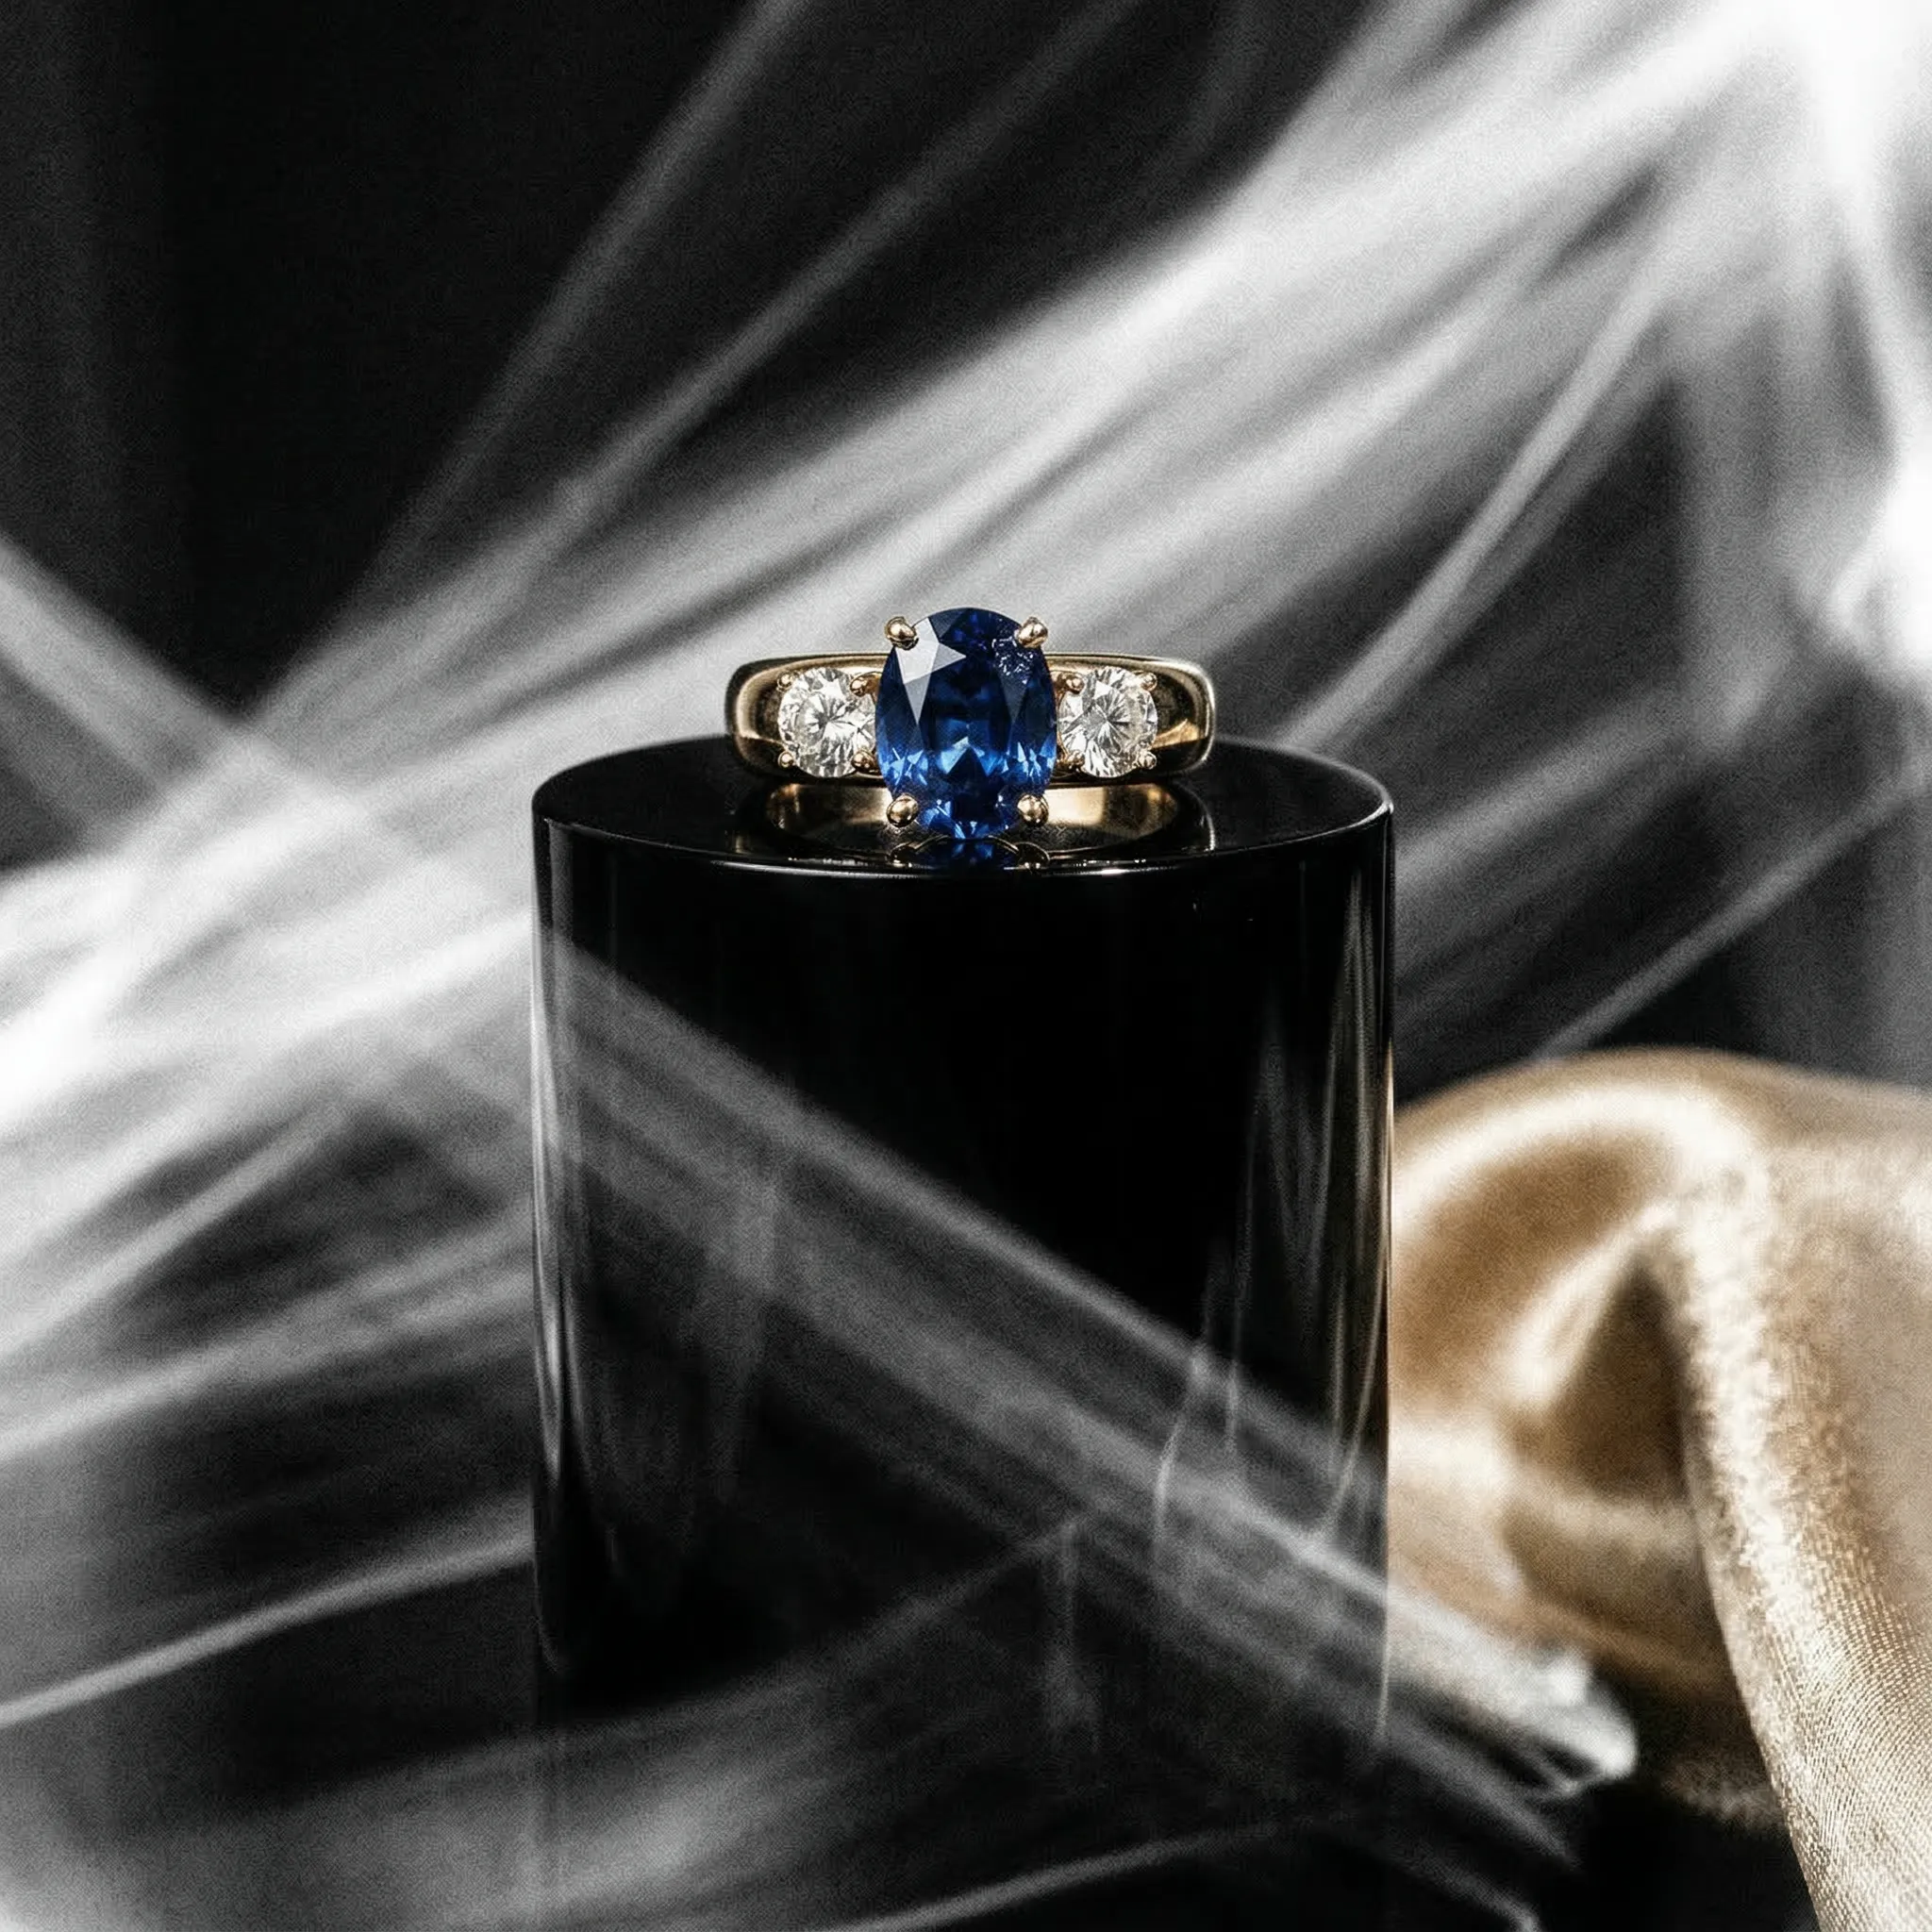
Cyber-Grit Noir
High-contrast, gritty, urban energy with a cinematic edge.
For this picture I added a Champagne Gold accent color.
Chromatic Gel
Bold gel colors and modern color separation for dramatic highlights.
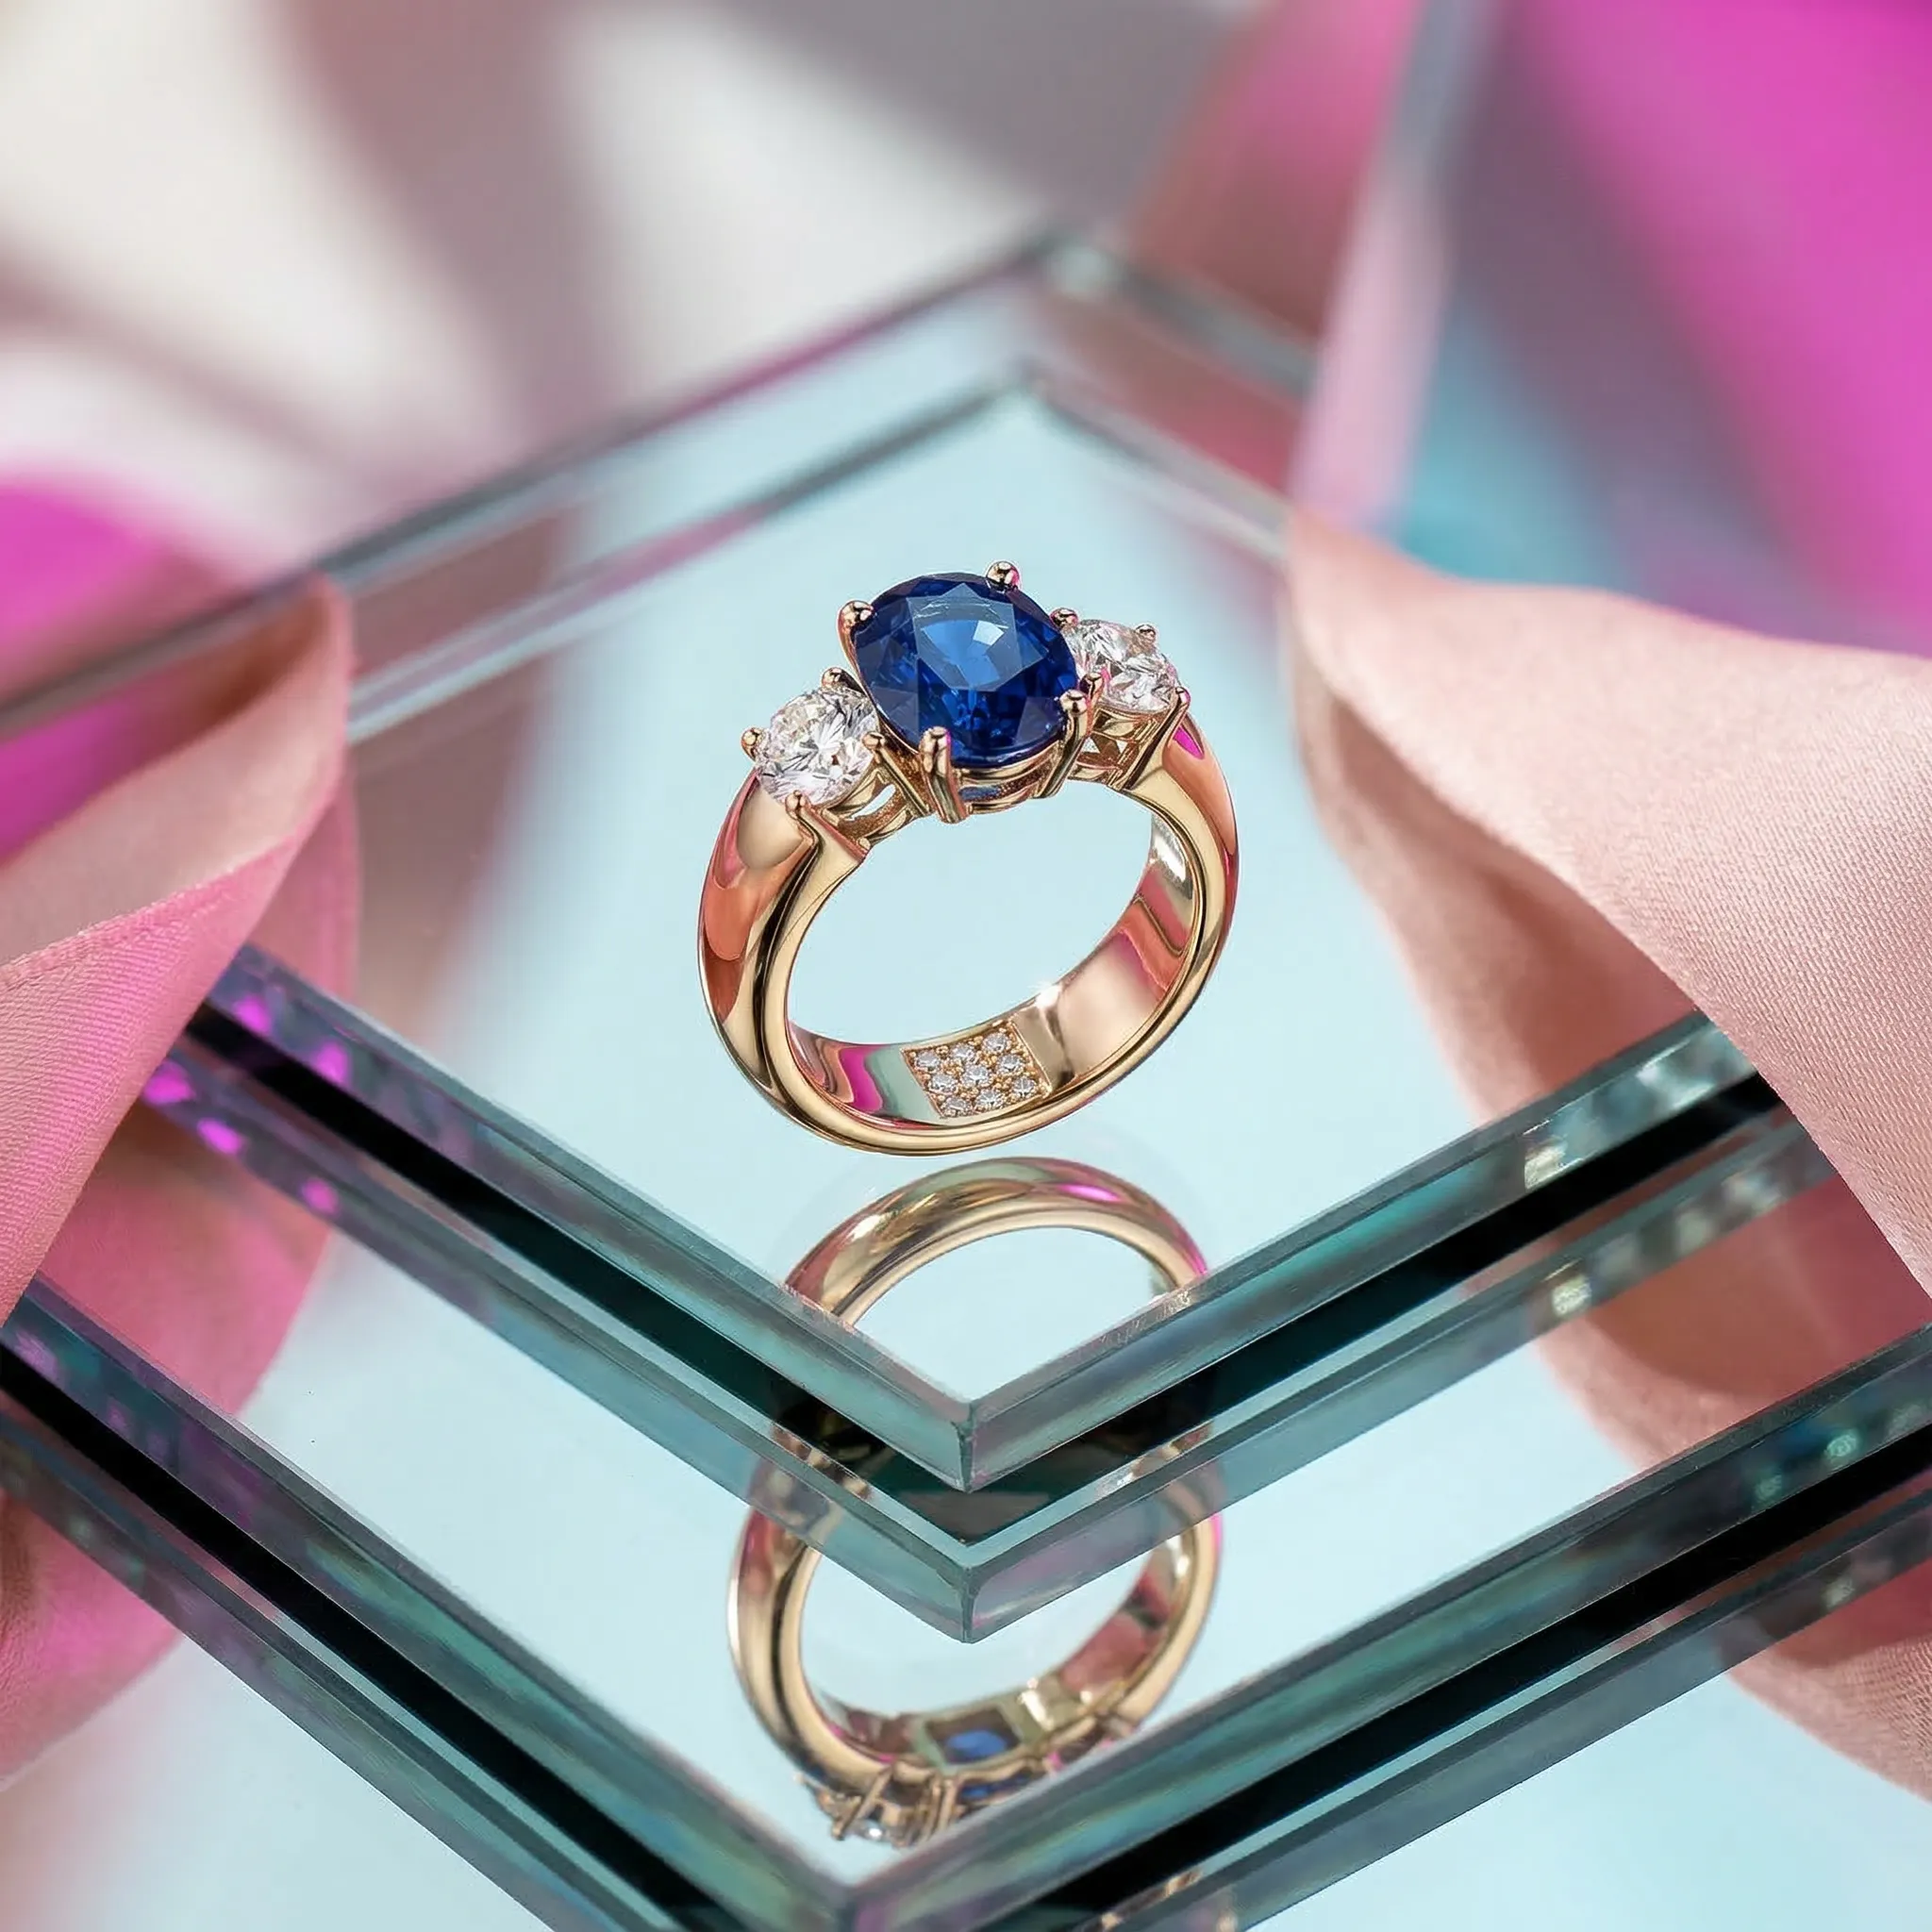
Material: Mirrored Glass
Display: Layered Slabs
Also new: Solid Color Studio
If you want clean, catalog-ready product shots, check out the Solid Color Studio template and how to use it end-to-end: